

Note : This Product NO WIFI Function. Only RF 433Mhz Function.
This remote control only support the learning code (1527) of the receiver Compatible with remote control using these chips: PT1527,EV1527, SCT527, HS1527, SCL1527, FP1527,EV1527 Do not use this remote control to clone other remote controls,you will lose the built-in 1527 encoding.
Description:
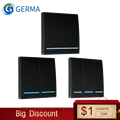
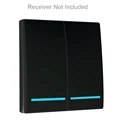
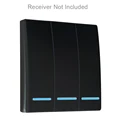
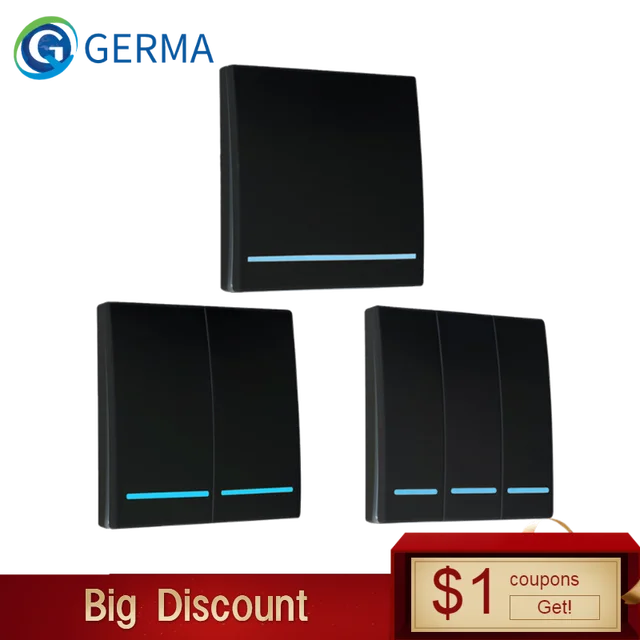
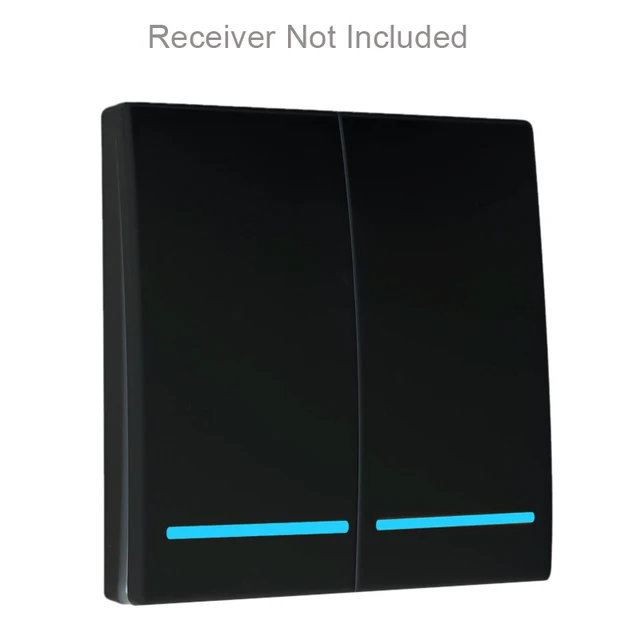
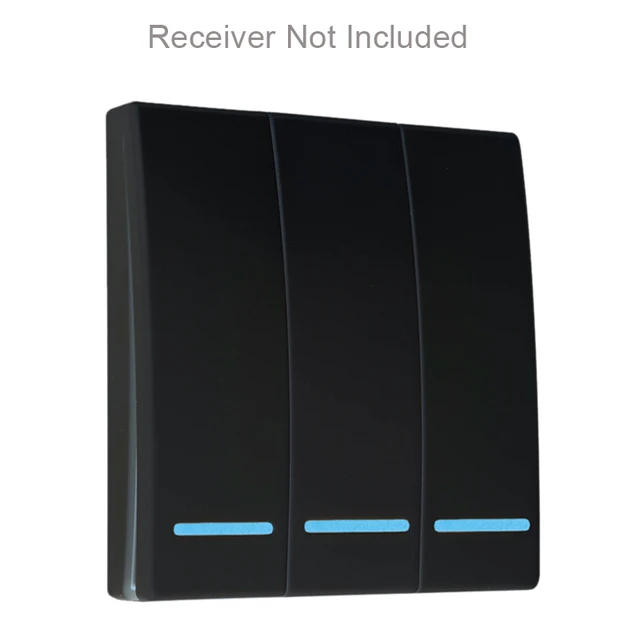
It is a panel 86 wall transmitter that can be stuck onto anywhere. It is a learning code transmitter EV1527 IC Chip. It can be learned into most of the learning code receiver, it can work with any kind learning code receiver in our store. So that the trouble brought by routing is avoided successfully.
Technical Data Of Wall Panel Transmitter:
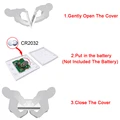
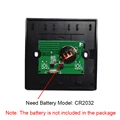
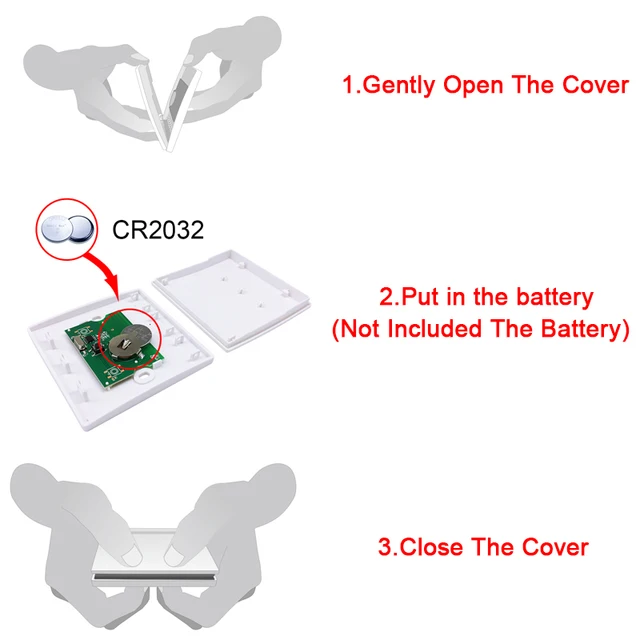
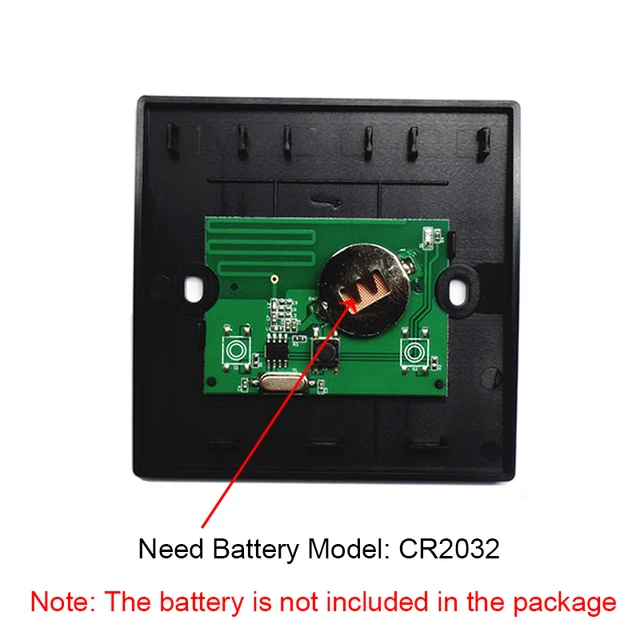
Operating Frequency: 433MHz. Battery Model: CR2032 Alkaline Battery (Package Not Included Battery). Material: HDPE(Type2) Plastic. Coding Specification: 1527. Distance: Indoor (20 Meters/65 Feets) , Outdoor (80 Meters/262 Feets). Color: Black. Size(L/W/H): 8.6 * 8.6 * 1.3cm/3.38 * 3.38 * 0.51in. Weight: 60g/2.11oz.
Technical Data Of Receiver:
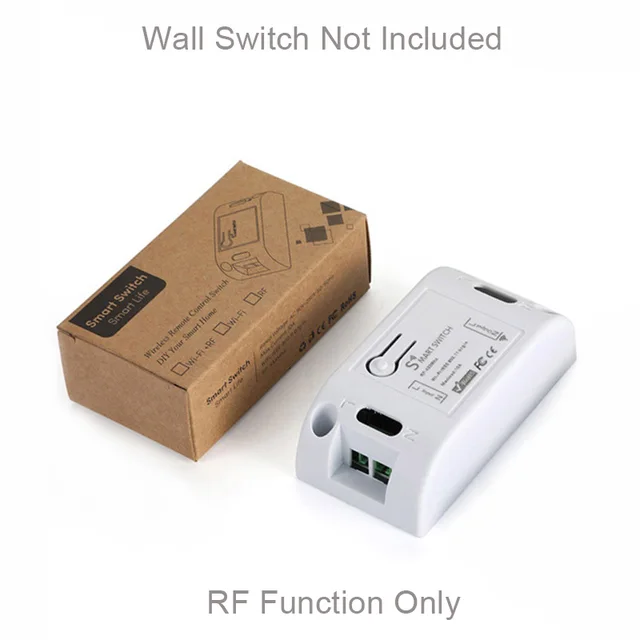
Model Number: KR2201D-4. RF Frequency: 433MHz. Input Voltage: AC 90V~250V. Modulation Mode: ASK. Remote Storage: 25pcs. Wiring Type: Fixed Terminal. Encoding Type: Intelligent Learning Code. RF Working Mode: Superheterodyne Reception. Working Mode: Momentary, Toggle and Latching. Remote Control Range: >50m (Free Space). Color: Green(PCB Board), White (Outside Shell). Package Size: 8.2 * 4.2 * 2.5cm/3.22 * 1.65 * 0.98in. Package Weight: 55g/1.94oz.
Dear Sir and Madam:
if you don’t know it .please inquiry it . the receiver and transmitter can work together ,their frequency ,IC chip and Shock resistance must be taken in to consideration. If you need it to work with your own receiver, you must make sure 100% that your receiver is 433mhz Frequency,does your receiver have a learning button to learn the transmitter code? and does your receiver can be compatible with 1527 ic chip transmitter.
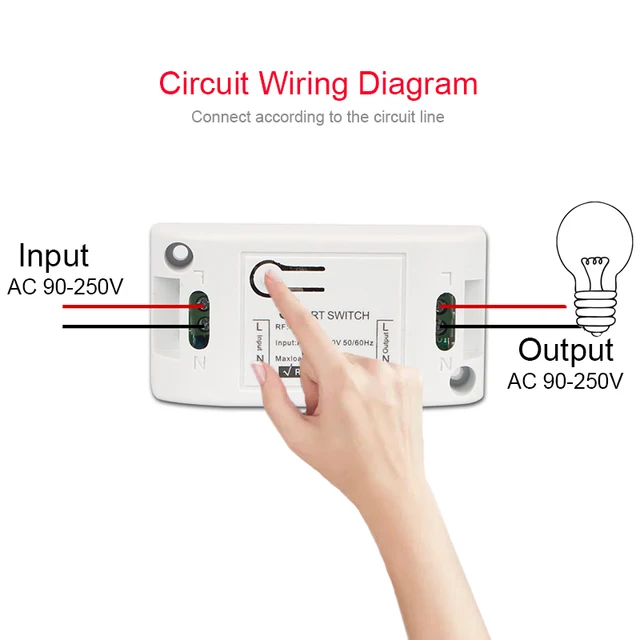
How to install this smart switch:
You don’t need to open the outer casing of this smart switch. You can wire directly to the terminal block. Please note: Please turn off the power before wiring. Please connect the wires according to the following diagram.
About Working Mode:
Momentary: Push the remote button , the relay connects, release the remote button , the relay dis-connects. Toggle: Push once the remote button , the relay connects , push twice the remote button , the relay dis-connects . Latching: Push the remote button A, the relay connects, push the remote button B, the relay dis-connect.
Receiver Code Resetting/Clearing:
Push the learning button on the receivers 8 times, the codes will be cleared. After clearing the code, all the remote controls need to be re-paired in order to control the receiver again.
Learning The Code (Momentary):
Press the learning key once, the LED on the Receiver will flash once. When the LED switches on, press any button on the remote control, the LED on the Receiver will flash 3 times and switches off. Indicates that they are successfully paired.
Learning The Code (Toggle):
Press the learning key twice, the LED on the receiver will flash twice. When the LED switch on, press any button on the remote control, the LED on the Receiver will flash 3 times and switches off. Indicates that they are successfully paired.
Learning The Code (Latching):
Notes: Latching mode require 2 different buttons, the first one for “ON”, the second one for “OFF”. For example: button A = ON, button B = OFF. Push the learning key on the receiver 3 times, initiate latching mode setting. Wait for a moment, the LED indicator on the receiver will flash briefly and switches off. Push the remote button A, LED flashes 5 times. Push the remote button B. LED flashes 5 times. 3 seconds later, the LED indicator will switch on again, indicates that the remote control and the receiver are successfully paired. A = ON, B = OFF.
NOTES:
1. Please do not charged operation, you should shut off the power, and operation after testing and correct electricity. 2. Please promptly change battery when remote control voltage is insufficient (when the battery voltage is insufficient, generally get close transmitting). 3. Please pay attention to avoid metal mask,large equipment,strong interference electromagnetic filed when using wireless RF products, and avoid too short distance between the remote control and receiver board. 4. Please avoid abnormal using of the product.Abnormal using will reduce product performance and life, when seriously it may damage the products and even make danger for your safe.
What’s More: The system can store for 25 pcs of remotes, if the remote get more than 25 pcs, the initial remote control will be lost.
Instructions:
The first step: Clear the receiver’s memory Press the Learning Button on the receivers for 8 times, the codes will be cleaned. After cleaning the code, all the remote control can not work any more. Step Two: Match Wall Panel Remote Transmitter and Receiver Press the learning key on the receiver twice time, it comes into toggle setting mode. Wait for a moment, the LED will be on , it comes into learning state. Press the remote button, LED indicator on the receiver board will flash then come off. Learning successfully.


Follow us on: